

Making an impression
Increase patient satisfaction and reduce returns by making quality ear impressions every time.
Quality in … quality out
A superior custom product fitting starts with a high-quality ear impression. Making a perfect impression requires proper technique, attention to detail, and repetition.
As the custom hearing aid experts, we know a thing or two about making accurate, precision-tested impressions—and how good impressions can also be used to make earmolds, custom cases, hearing protection solutions and more.
This page, developed with help from Starkey’s most experienced impression takers, shares best practice tips perfected from shooting thousands of impressions in our Center for Excellence.
Watch the impression making process in its entirety or scroll down for defined step-by-step videos.
An art worth mastering
Good impression taking is an art that benefits patient satisfaction and your bottom line.
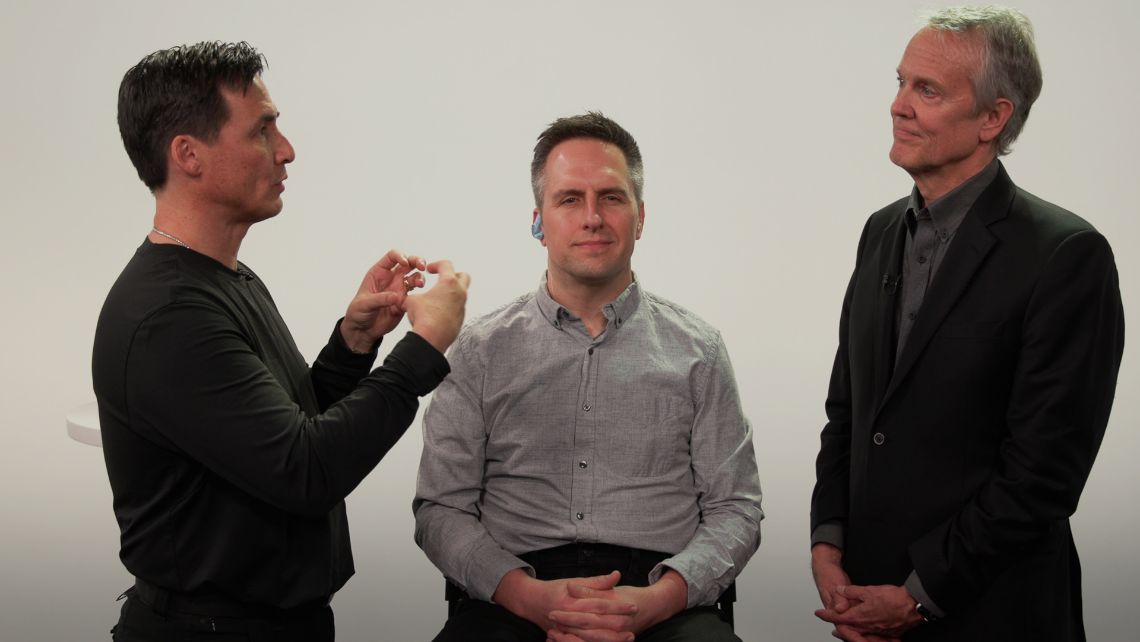
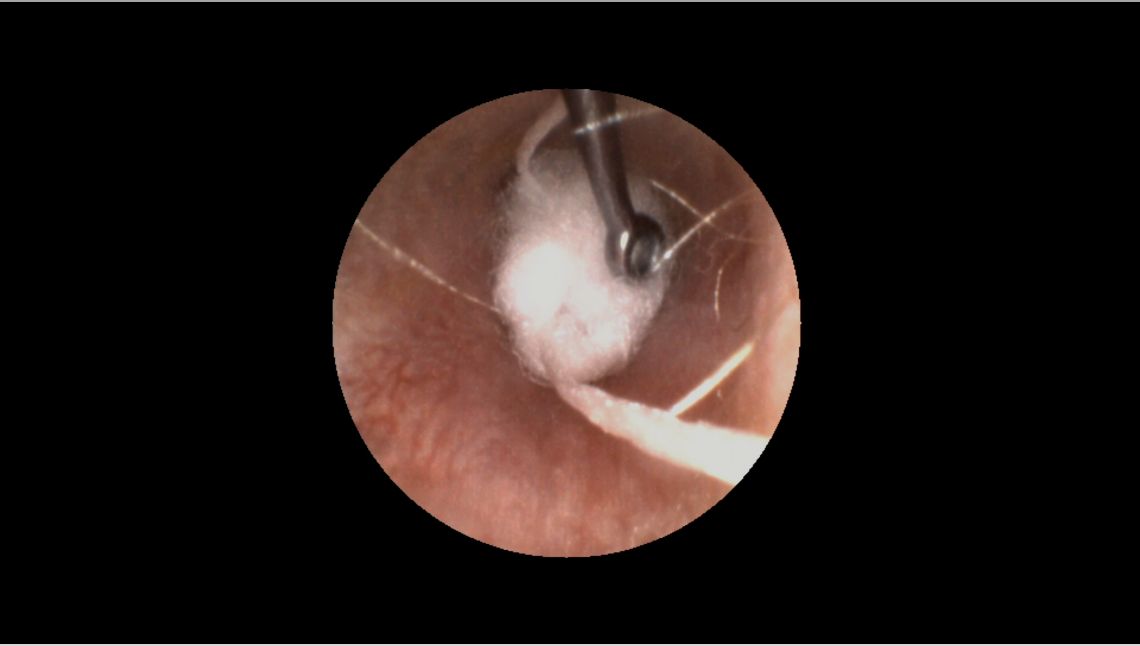
Step 1: Examine the ear
The first thing you want to do is examine the ear, preferably with a video otoscope.
- Look for blockage or wax that might interfere.
- Look for abnormalities or growths.
- Get a good sense of the ear’s diameter.
- Ensure it’s clean before going any further.
Pro Tip: Your video otoscope is your best friend—an indispensable tool for ear cleanings, impressions and even patient acceptance.
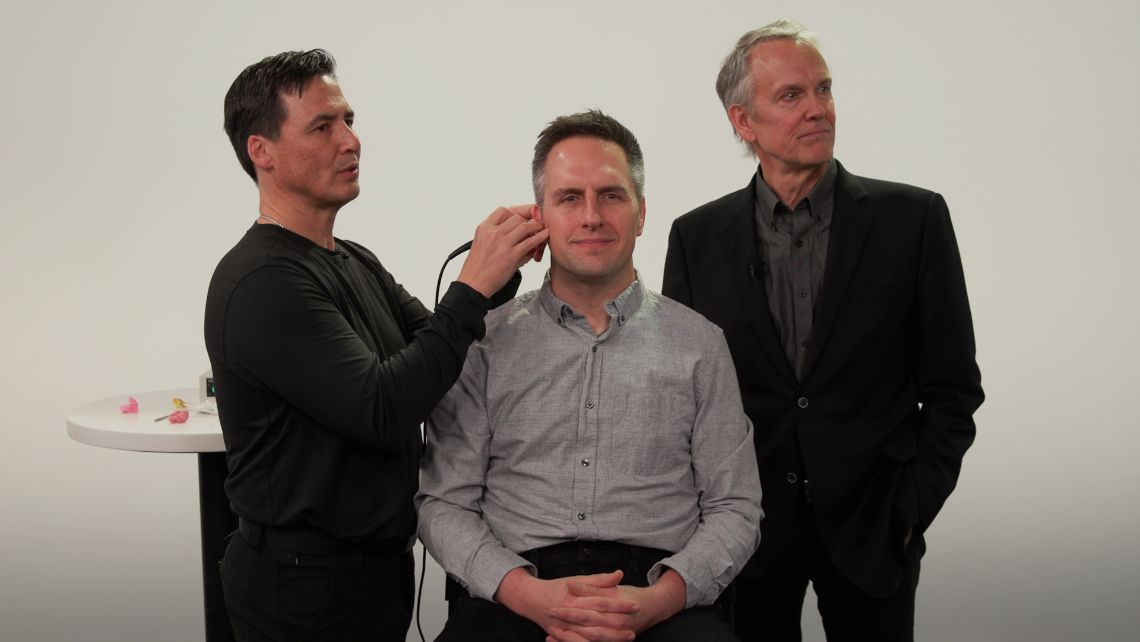
Step 2: Insert the otoblock
The size and type of otoblock you use makes a big difference in the outcome of your impression.
- In most cases, we recommend using cotton, not foam, and flaring it before insertion.
- Properly brace your hand against patient’s head.
- Use your otoscope and a curette to guide the block past the second bend of the ear canal and place it as close as possible to the eardrum.
- Once placed, check your work by inspecting the perimeter of the otoblock with your otoscope to ensure there are no gaps.
Pro Tip: Positioning yourself level to the ear, lifting up the pinna and pulling the tragus forward all help make it easier to see what you’re doing.
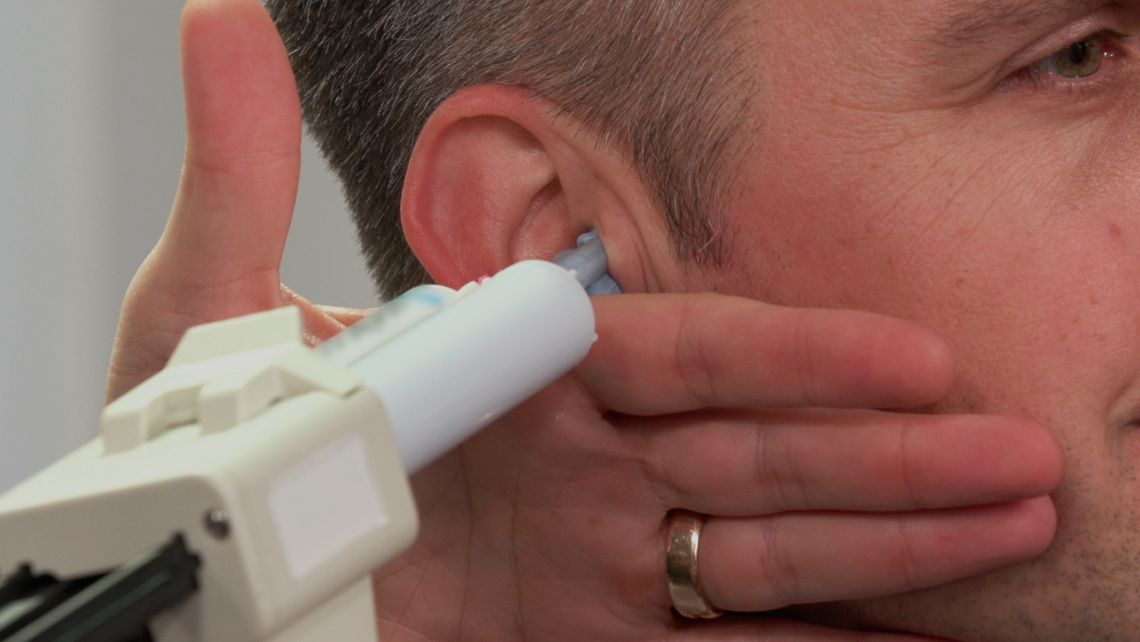
Step 3: Take the impression
Consider the shore of the silicone you use. In general, medium is recommended as it allows for good definition of landmarks and is pliable enough for easy removal.
- Insert the tip and leave in for about three seconds until the silicone starts coming out around the end of the impression gun tip.
- Let the material flow and fill naturally — keeping tip movement to a minimum. Make sure to fill the entire concha and capture the tragus.
- Make sure to fill the helix and go up the triangular fossa, regardless of the product or earmold style you are ordering.
Pro Tip: To help eliminate gaps, voids and ridges, keep the tip of the gun buried in material as you slowly pull it out.
Step 4: Remove the impression
Wait five to eight minutes for the impression to cure before removing from each ear.
- Test the silicone with your fingernail to ensure it’s not wet.
- Break the vacuum seal before removal by gently pulling forward on the ear while asking the patient to make a chewing motion.
- Keep gently pulling on the ear while twisting the impression towards the nose.
- Grab the string simultaneously while pulling the impression out slowly.
Pro Tip: Don’t forget to look inside the ear one more time to ensure nothing is left over or injured.
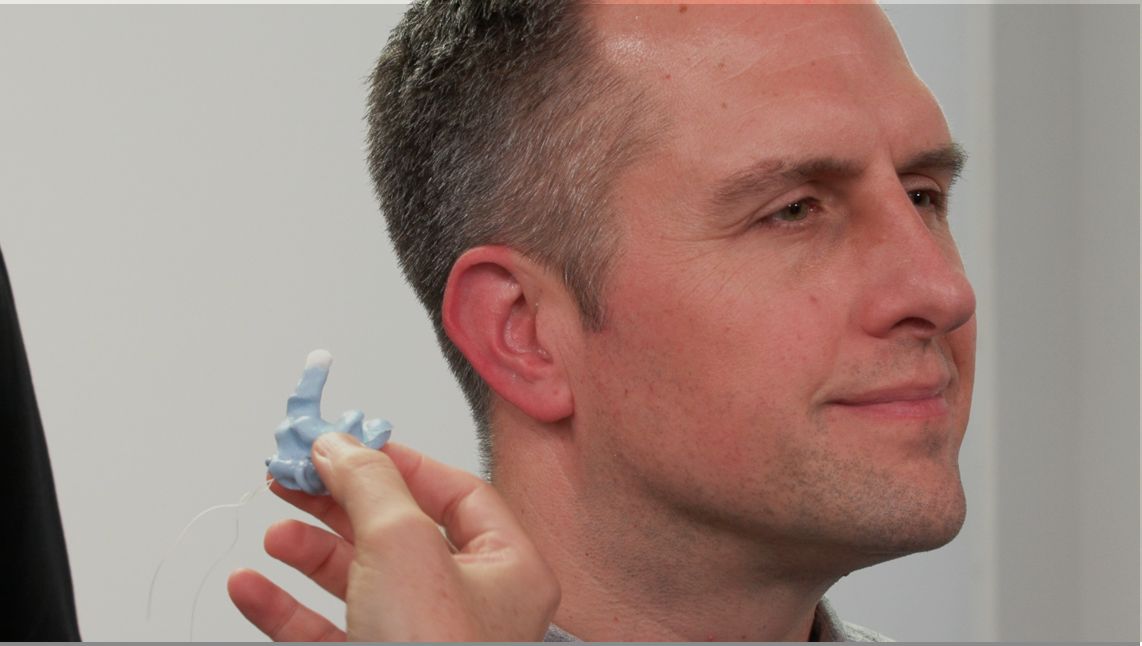
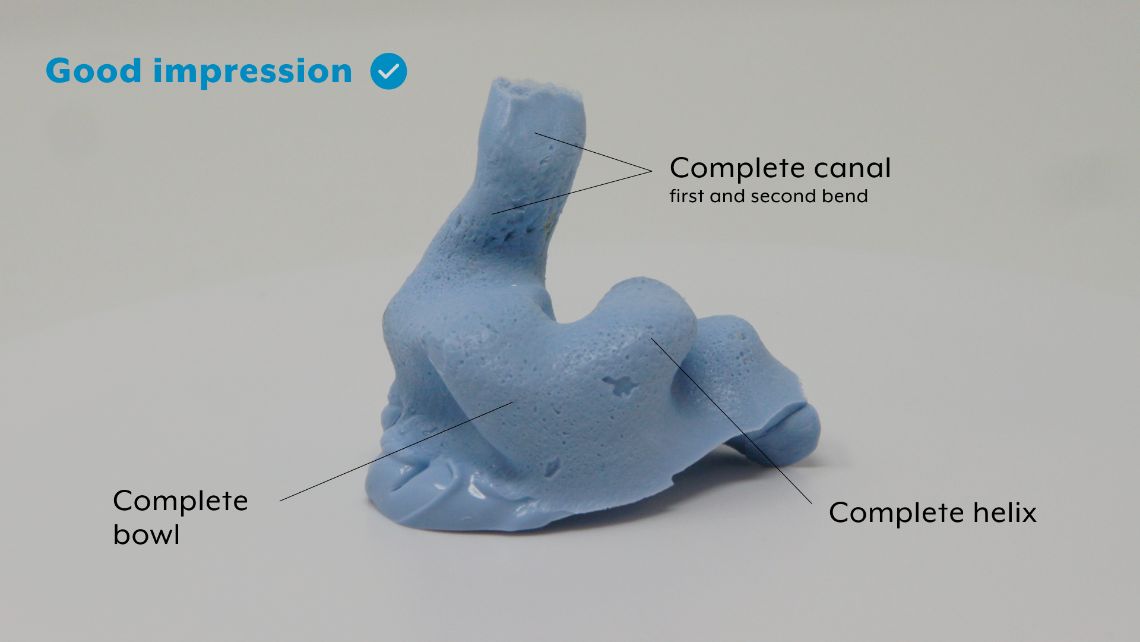
Step 5: Evaluate the impression
A good impression will be as deep as possible, have minimal gaps and voids, and give us as complete a picture as possible of the patient’s ear.
Pro Tip: Using a measuring tool may also help determine the right custom style for each patient.